You’ve taken the shot. The deer is down, and the prize is yours. The hide, antlers, and all that succulent meat are waiting. But one question arises – how to skin the deer?
Now you are faced with one of two choices. You can take the carcass to a professional butcher, or you can attend to the task yourself.
Ask any experienced hunter, and he/she will tell you the same thing. The second option is, by far, the most rewarding.
Learning how to skin a deer can be challenging. Both physically and mentally. It demands specific skills, knowledge, and the right tools to get the job done properly.
Preparation is key, too. Besides, skinning is only part of the process.
In this article, I’ll lead you every step of the way, from field dressing and skinning to butchering your kill. Plus, I’ll also explain the right way to store the meat. So let’s get into it.
Contents
Preparing Your Equipment
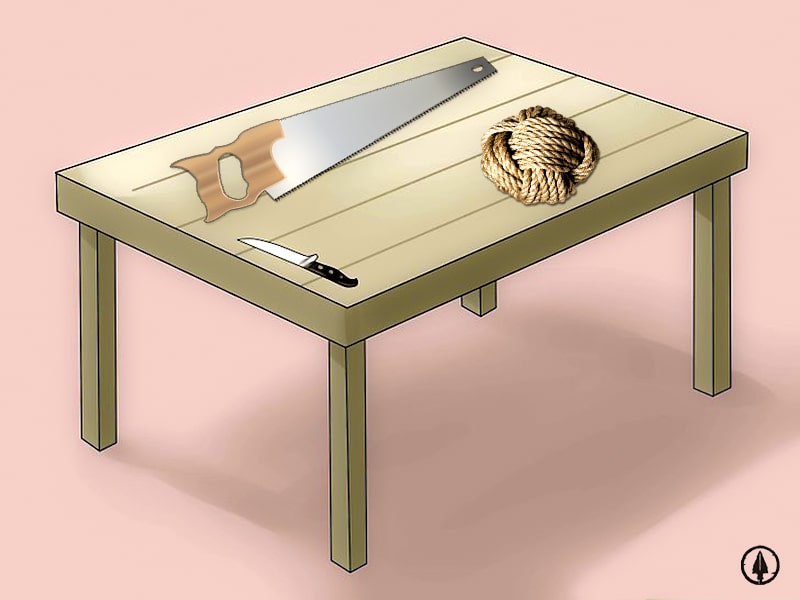
Here’s what you need to have ready before you start to skin a deer:
- Chain or rope to hang the carcass.
- Lots of fresh, clean water.
- A large container to store organs and waste.
- A good quality, really sharp knife or knives.
- Good quality saw.
- Stainless steel clippers.
- String or elastic bands.
- Latex gloves.
Note: You can do this while the deer is on the ground. But hanging the carcass from a tree or a metal frame makes the job a lot easier.
Choose an area that is as clean as possible. Ensure there are no loose branches or rocks on the ground that could cause you to stumble or trip over.
If you need to move the carcass, wrap it in cloth or a tarp to shield it from insects and dirt. Dragging is better than carrying it on your shoulders.
If it has horns or antlers, use these to pull it along.
Remember that if you intend to mount the head, you’ll need to protect it from damage. Remove your watch and any other jewelry you may be wearing.
Once you are satisfied and everything is ready, you’re good to go.
Hanging the Deer
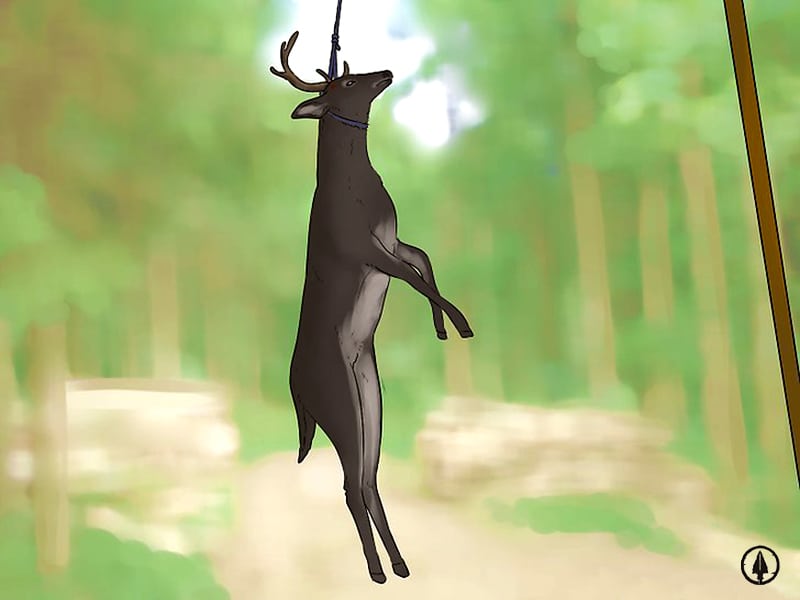
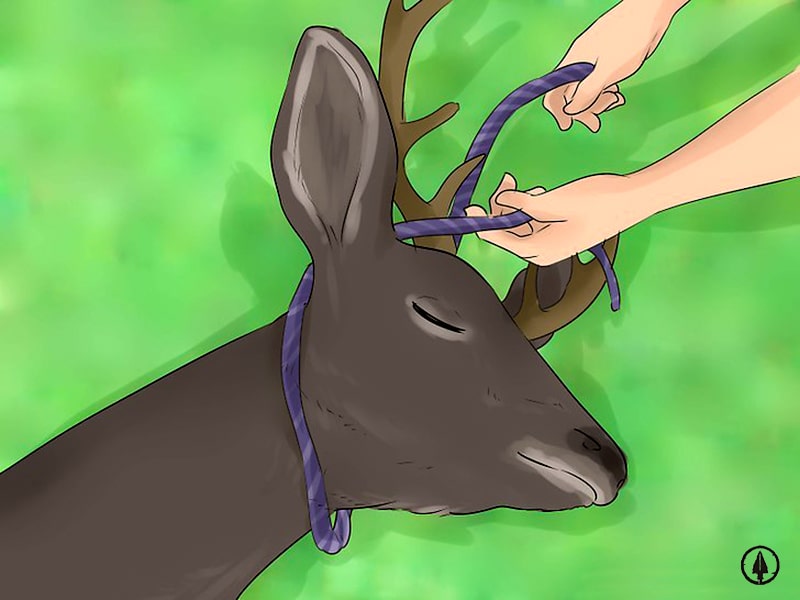
I know some hunters prefer to hang their kill head downwards. This is fine, but personally, I like to hang the deer from the neck.
The advantage is that the entrails fall out more easily without getting stuck in the chest cavity.
Also, the butt down makes it easier to rinse and drain blood and other liquids. Hanging the deer allows good access to the organs and intestines and makes it easier to remove the bladder intact, too.
Tie the chain or rope tightly around the deer’s neck, and check that it passes under the chin.
Field Dressing
Before you can start skinning, you need to field-dress the deer. This means removing the entrails. Then, for best results, use a gutting knife to cut through the deer’s skin.
Field dressing is a vital step towards preserving the meat. It cools the carcass down and slows the growth of bacteria. It also removes blood and stomach contents from the meat.
Removing the Organs
Once the deer has been hung, it’s important to remove the internal organs as quickly as possible.
If the bullet has punctured the belly, or if you accidentally pierce the guts while field dressing, clean the juices away at once.
If required, you should wash the carcass, but only ever use clean water and nothing else. Be sure to dry it afterward to prevent bacterial growth.
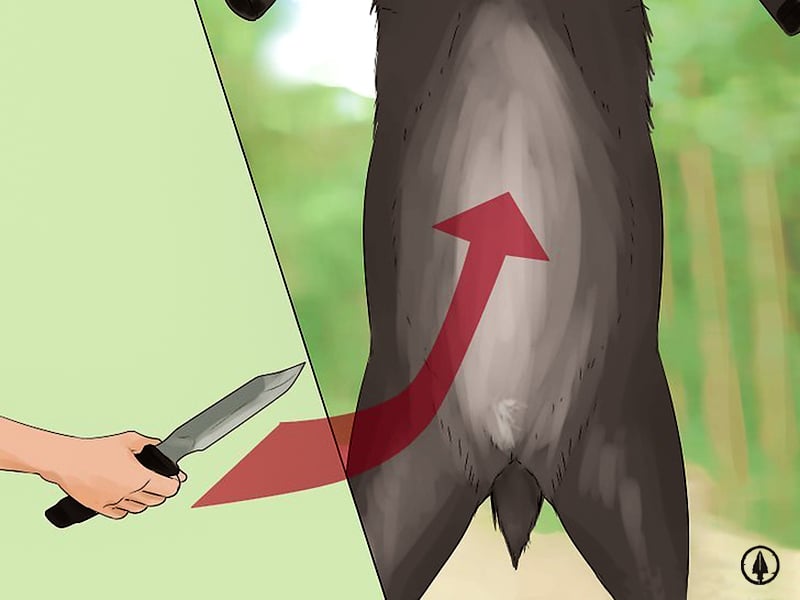
Your first cut will be where the skin forms a V shape between the hind legs.
Make a shallow inch-long slit through the skin. For a male deer, remove the genitalia.
Splitting the Sternum
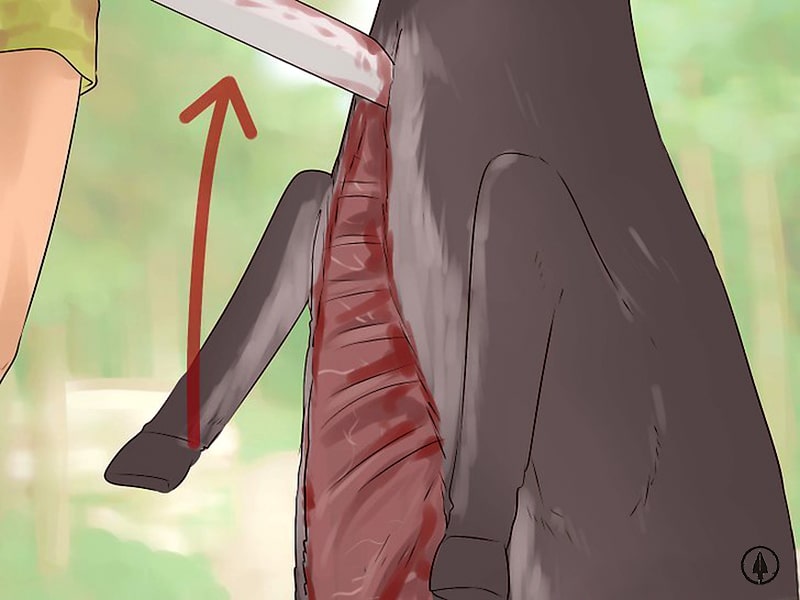
Next, make a slit through the skin only, running up towards the jawbone. If you’re going to mount the head, cut as far as the breastbone, then stop there.
Pull the skin and hair away slightly from the abdominal muscles. Make short, shallow strokes with the knife from the pelvis upwards.
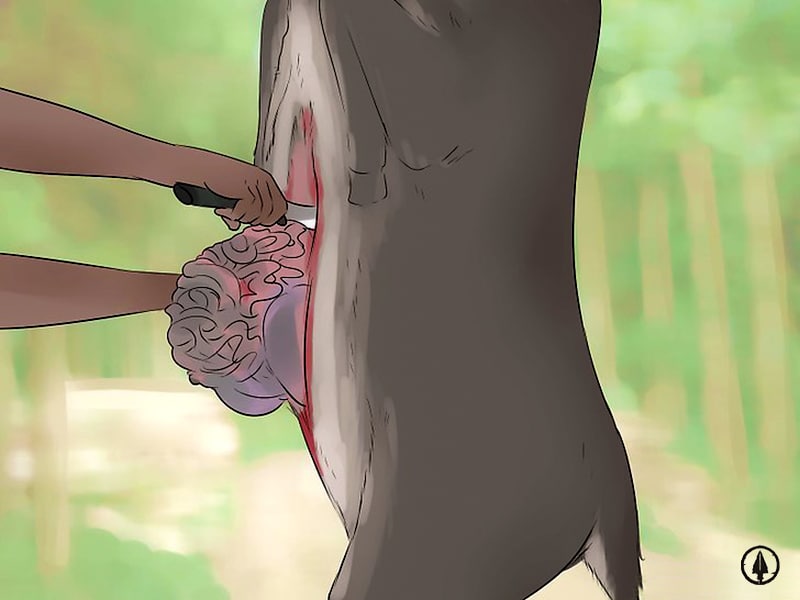
Slice through the muscle layer until you can get your hands inside the abdominal cavity.
Removing the Muscles
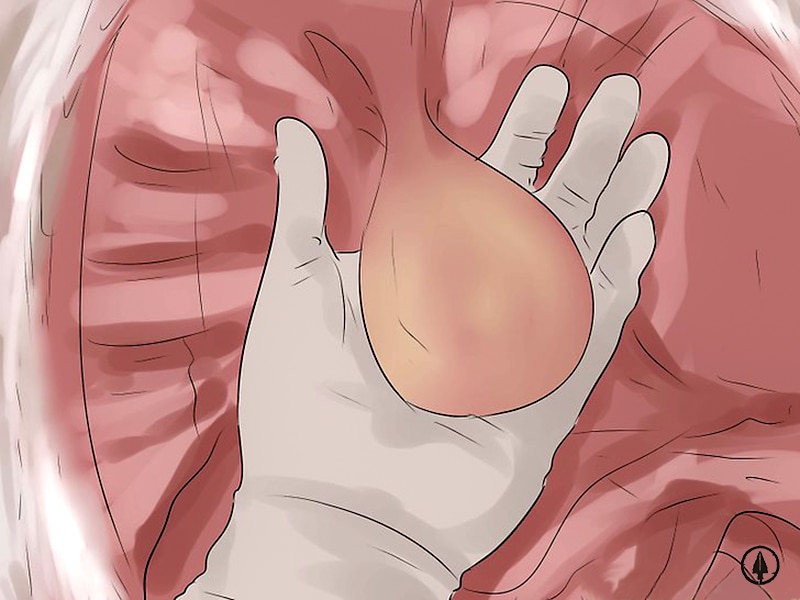
Now you can use your free hand to pull the muscle layer upwards and away from the organs. This will prevent you from piercing the stomach and intestines.
Use the saw to cut through the breastbone cartilage and spread the ribs.
Using the knife again, cut a circle around the anus and tie it off with a piece of string or an elastic band. This will stop any fecal matter from leaking onto the meat.
Cut off the windpipe and esophagus high up in the neck area. Hold the windpipe in two hands and pull down to remove it, freeing the entrails.
You may need to cut through the connective tissue that holds them against the spine.
Cut through the diaphragm, which holds the entrails to the ribs. Pull down firmly with both hands. The entrails should come away easily. Check that you’ve removed the windpipe too.
Dispose of the Waste
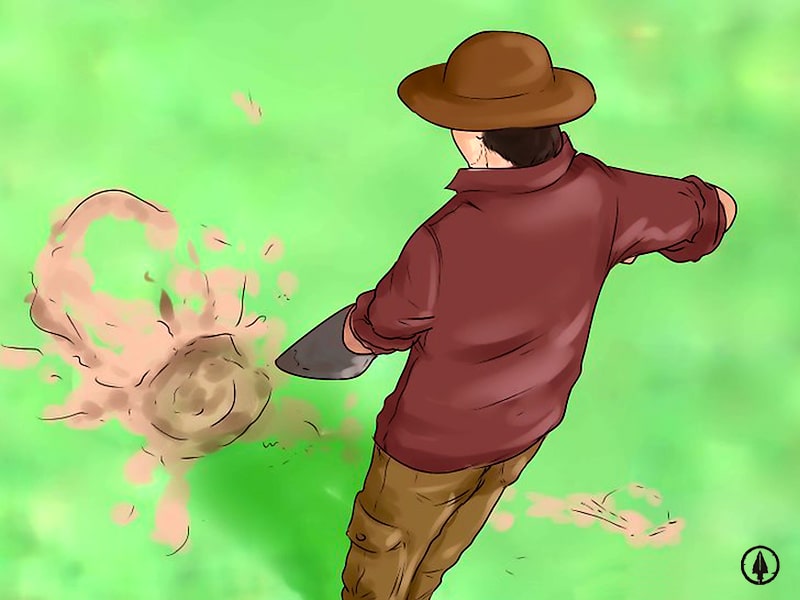
Put all this waste matter into your large container and dispose of it, or bury it later. Now you can clean the carcass out with water.
Take extra care to remove any stomach contents that may have leaked onto the muscle tissue. Dry the cavity with a clean cloth.
Leave the deer to hang for about twenty minutes to drain the last drops of remaining blood.
Then, chill the carcass, or at least keep it below forty degrees until you’re ready to skin the deer and butcher it.
Skinning the Deer
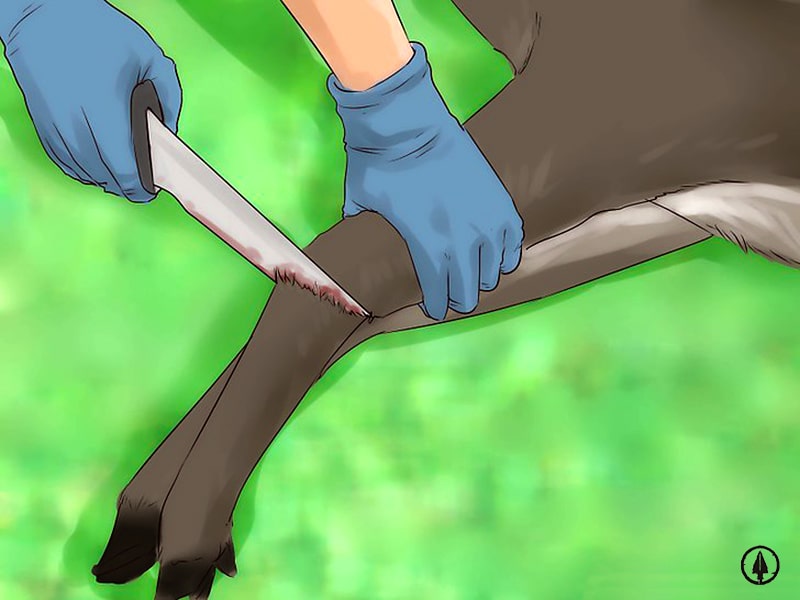
It would help if you started skinning from each hoof at the elbow joint.
But first, you need to prepare the skin to pull it off in one piece. Use your knife to cut around the bends of the legs.
Join these small incisions with longer cuts up the inside of the legs.
Then, continue the incisions to meet the field dressing cuts on the animal’s belly.
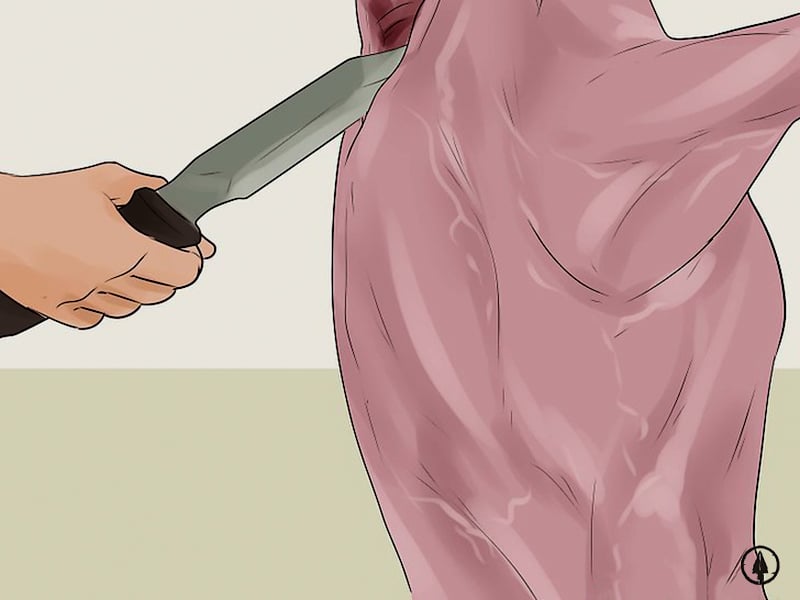
How to Skin the Deer
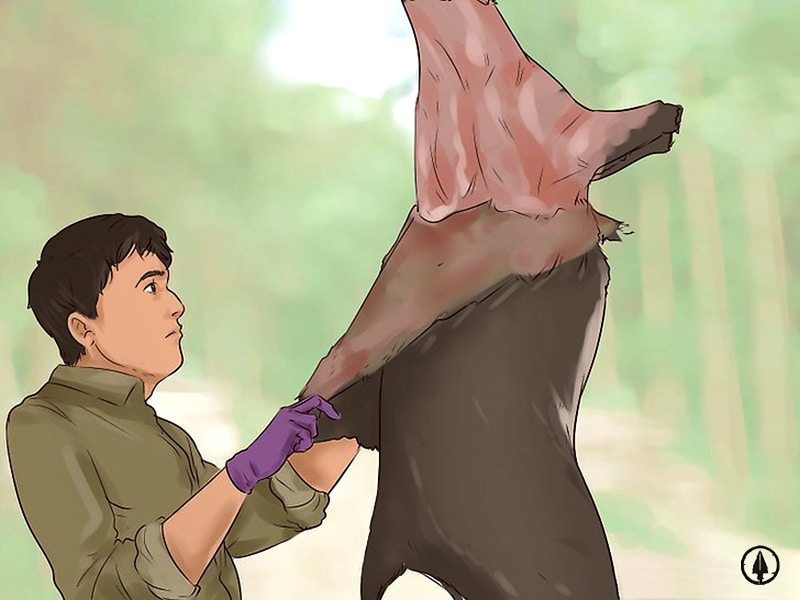
Start slowly. Work the skin away from the back legs by pulling on it. The goal is to separate the hide from the muscle. If your knife is good and sharp, your job will be much easier.
When you have enough skin to grab hold of, roll the hair side inwards and start to tug away. The skin should come away without too much resistance, all the way down to the chest and shoulders.
Once you’ve reached the shoulders, use your knife to separate the skin from the joints. Pull it away as far as the animal’s throat. Finally, use the saw to remove the head.
The carcass can now be washed with clean water. This will help to cool it and will remove any hair and spillage from the meat. Always remember to dry it properly with clean cloths.
Note: Did you know you can also use a vehicle to skin the deer carcass?
Alternative Method to Skin the Deer
All you need is another length of rope, a small rock or a golfball, and any kind of car. This is how it works:
- Loosen the skin around the neck, just enough to roll the rock or golfball into a flap of skin.
- Next, tie one end of the rope in a loop around the rock. Attach the other end of the rope to your car.
- Gently move the vehicle away from the carcass.
- Be sure to pull in a direction that the carcass can swing. The rope will tighten around the rock or golfball, and you can slowly pull off the skin.
This method leaves no hair on the carcass, and if done carefully, the skin shouldn’t tear.
Aging the Meat
First, you need to decide where you’re going to age the meat. It needs to be kept cool and insect-free.
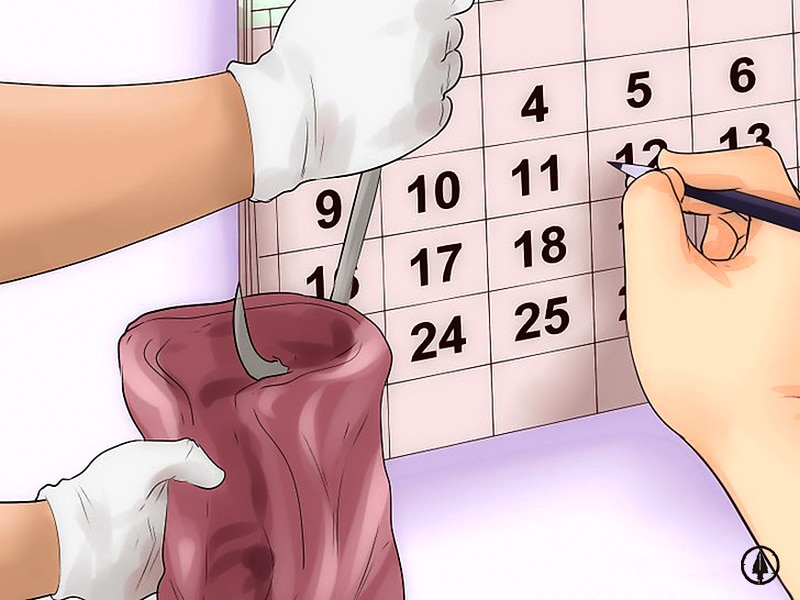
The ideal temperature is between 35 and 45 ° but shouldn’t be frozen at this point. A cold room or garage is ideal. Hang the meat using a metal butcher’s hook and rope or chain.
It should hang for a week or two. This promotes the breakdown of the tough muscle cells and will also improve the flavor.
Cutting the Meat
Once the deer has aged, you can chop it down into portions ready for refrigeration. Start by preparing a large, clean surface such as a picnic table. Gather your equipment.
You’ll need your sharp knife once again and a saw. You’ll also want your Ziplock bags and a cooler or fridge with enough space to take the meat.
Step 1: Remove the Loins
Remove the inner loins first. These are the most tender part of the animal and quite a delicacy. Some hunters remove these in the field to avoid them drying out.
The loins run along the inside of the spine, are about twelve inches long, and end at the hips.
Step 2: Butcher the Shoulders
The next main part to butcher is the shoulders. Pull the shoulder away from the body. Keep your knife parallel to the ribs and pass it through the shoulder joint.
Aim to pass through the area where the bones form a hinge at the joint.
Step 3: Remove the Back Straps
Now the back straps can be removed. If there’s any extra fat in this area, use your knife to shave it off first.
Next, find the knobbed section of the hip bone and cut it just under it.
Work your knife towards the spine on both sides.
This is the first cross-section of the back strap. Next, run your knife back down along the spine. Cut right up to the neck.
Now go back to your initial cuts and begin to peel and release the back strap with the knife. When the back strap is down to the front shoulders, cut them off.
Step 4: Cutting the Neck
Now it’s time to attend to the neck. There’s usually quite a lot of meat here, and its great for making ground venison.
Start by pulling the meat from the backstrap incision and peel it off the neck bones. Work from the top of the neck to where the windpipe used to be.
You can now clean up any meat that’s left on the front half. There should be brisket along the rib cage as well as meat between the ribs.
Don’t waste any of this, as it’s all good for ground meat.
Step 5: Attending the Hindquarter
Now that you’ve finished with the forequarter, you can saw through the backbone and attend to the hindquarter. Remove the sirloin by beginning at the hindquarter’s knee.
Keep the knife parallel to the leg bone and cut down until you get to the hip. Then, angle the knife by ninety degrees to remove the sirloin.
Finally, you can remove the rest of the hindquarter. Keep it attached to the pelvic bone to do this.
Begin at the back of the leg just below the Achilles tendon. Cut inwards, and keep going until you hit the bone.
Continue until the meat has all been released from the leg and pelvis. This gives you a big chunk of meat consisting of three roasts – rump, bottom round, and eye of round. Separate each of these.
Step 6: Finishing Cuts
The last of the meat on the carcass can be removed and used for stewing or ground meat. Start by cleaning the T-shaped front shoulder bones. After that, salvage anything that’s left for grinding.
Finish trimming all the meat cuts you’ve made by removing the shiny membranes, excess fat, and tendons.
Use your mincing machine to grind any of the meat that you want to use in this way. Finally, cut any stewing pieces into even-sized cubes.
Packaging and Storing the Meat
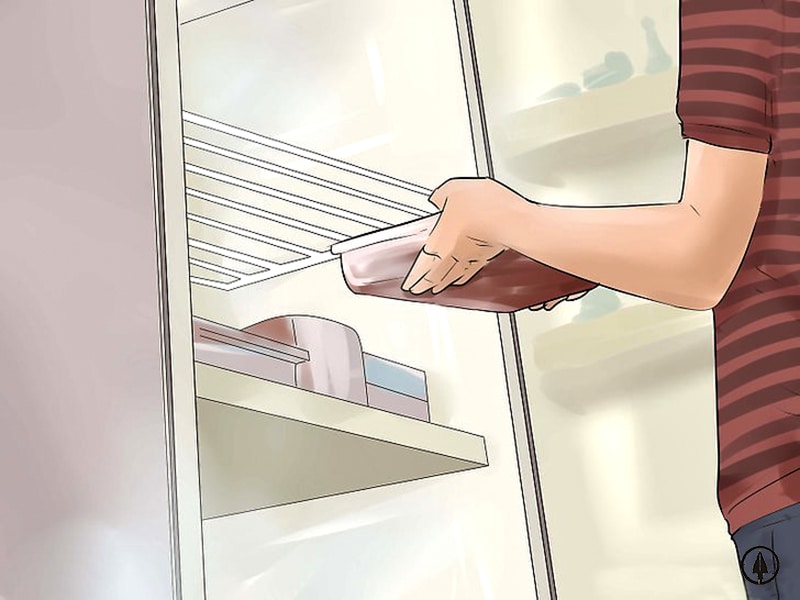
Put your ground and stewing meat into Ziplock bags and label them. Always include the date on the label.
For the roast pieces, wrap first in plastic, then in butcher’s paper to prevent freezer burn.
Freeze immediately. Venison stored in this way will keep for up to two years. It’s one of the best techniques to store the meat.
Final Note
Knowing how to skin a deer can be a long and exhausting but essential process.
However, if there’s one thing you take away from this article, it should be this – you need a darn good knife or a selection of darn good knives.
Sharp, sturdy knives are vital for safe, effective field dressing, skinning, and butchering the deer.
Choose blades that are at least four to five inches long with large, comfortable grips. Small knives slip easily, especially if you hit the bone.
The main thing is that it must be sharp. A dull knife is dangerous.

Hi, my name is Michael Goodman. As a skilled hunter and a man of the field, I will show you some sophisticated, intelligent, and useful hunting methods and techniques.
Some great tips, I like that you have highlighted the importance of preparing your equipment as this is a stage that is often overlooked.
Thank You!